Sunday 31 January 2016

January Card Swap Challenge

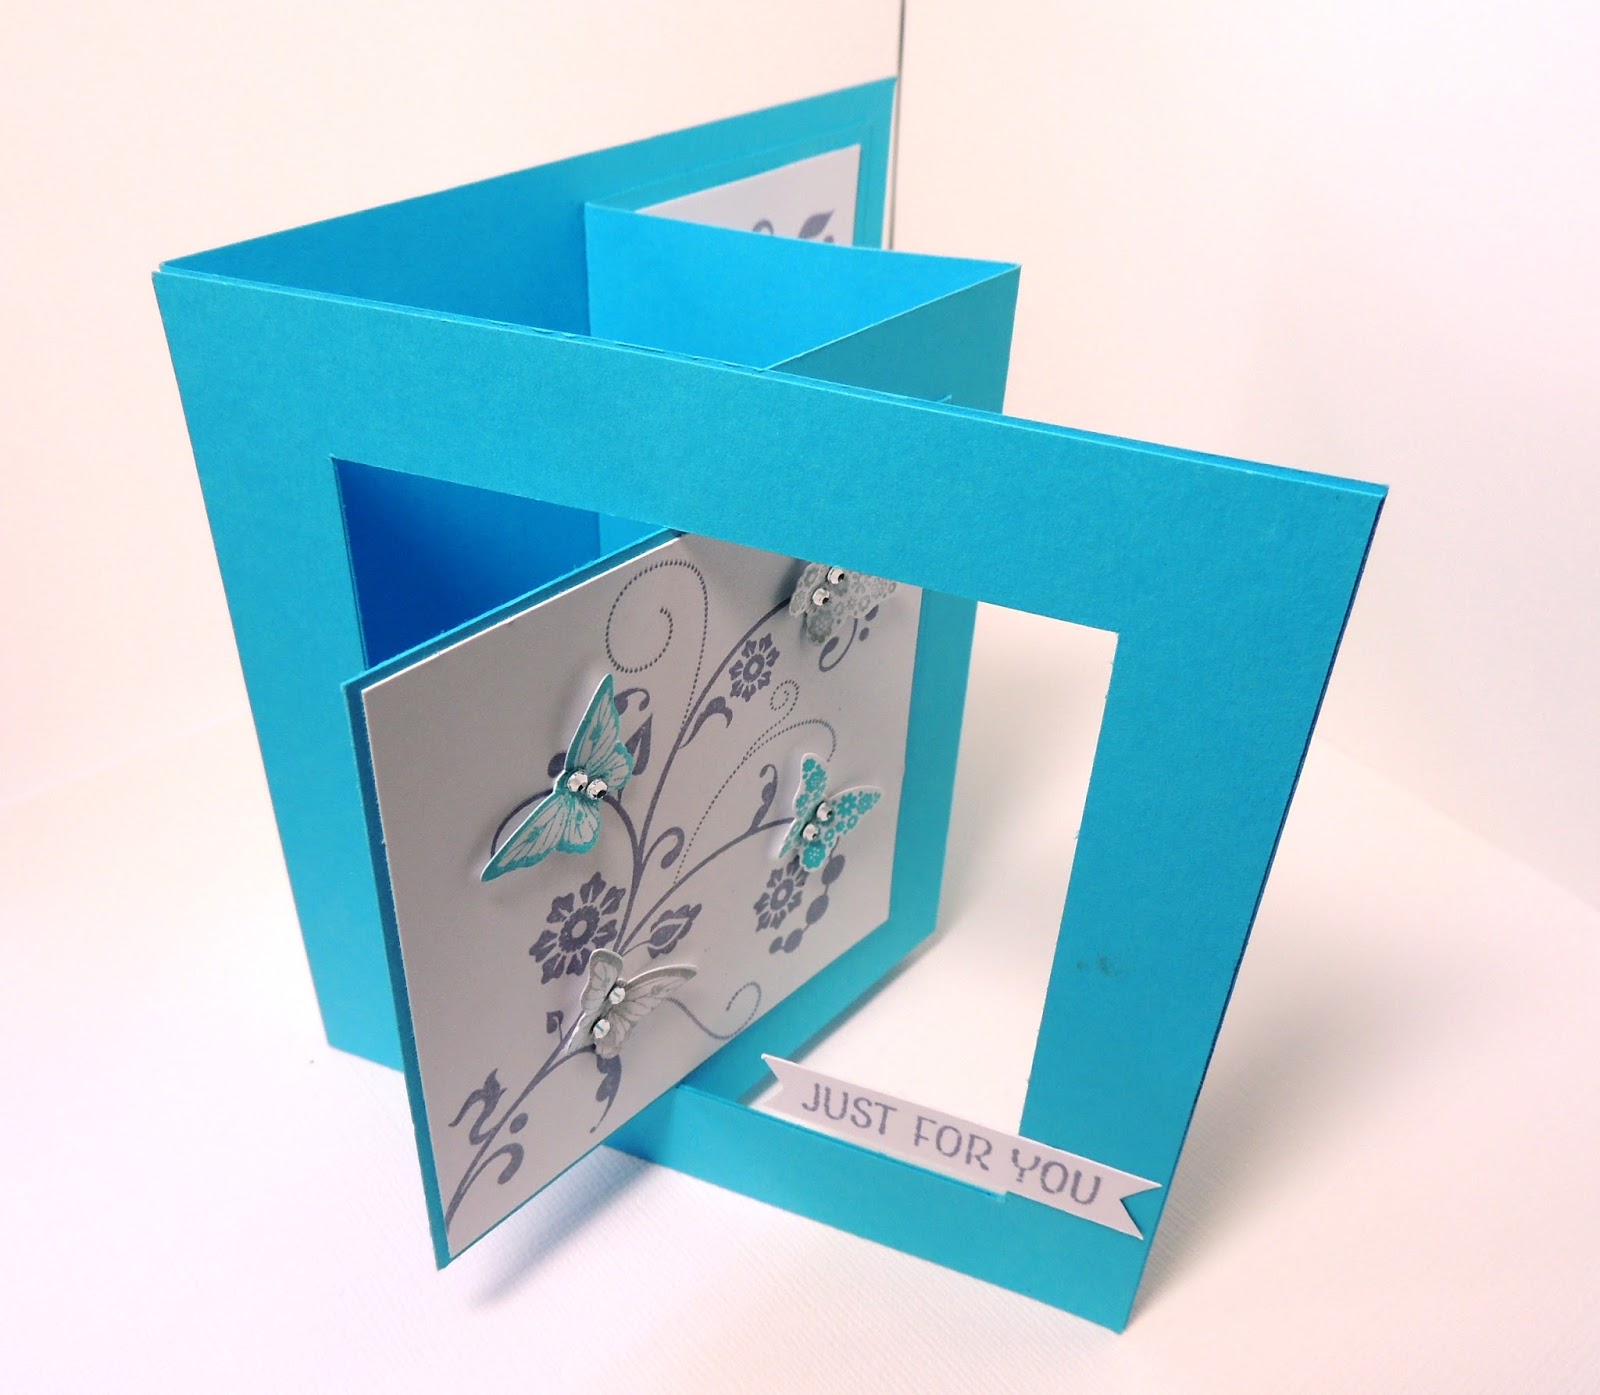
Today I want to share with you the beautiful card that I received for the January challenge from my Card Swap Group.  The challenge was to use the shaving foam marbling technique, as well a background using an  embossing folder.  The sender of my wonderful card is the very talented Sue.  You can find more examples of her amazing work here.
 
The work on this card is incredibly detailed, and is truly a work of art. I hope my photos do it justice (I think they may have come out a little dark).
 
If you haven't tried the shaving foam technique, do try it, it's great fun.  You can find lots of videos on YouTube to show you how it's done.  Be prepared to get messy!


The final photo is of the envelope, as that was a bonus part of the challenge.  My card to Sue is already to go in the post and I will share photos with you soon.

Thanks for dropping by.  Take care

Michelle x

Sunday 24 January 2016

Documenting December Part 3 - The Final Part

Good evening.  I hope everyone is well and has had a lovely weekend.  I was very lucky to enjoy a whole day's scrapping yesterday at my local crop, as well as spending a lot of today making some (only2) Project Life pages.
 
Here is the third and final part of my December album, which is from 23rd to 31st December. We had a wonderful final day of 2015 - we made a return visit to the Harry Potter Studio Tour.  I was particularly keen to see it decorated for Christmas, but the highlight was definitely the Hogwarts Express. I made two collage pages to document our day.  On the final page, I took time to reflect on how much I enjoyed making the album, as well as thinking ahead for the new year.


I hope you have enjoyed looking at my album.  I've really enjoyed making it and I'm very proud of it.  I'm full of ideas of how I can document December 2016 - although I'm not counting down, I'm happy to wait!

Thanks for dropping by.  Take care

Michelle x

Sunday 17 January 2016

Documenting December Part 2

Hi everyone.  I hope you are enjoying your weekend.  I'm taking advantage of a peaceful Sunday afternoon to catch up on things.  I had hoped to post this earlier, but that didn't happen, but here it is now :)
 
I hope you enjoy it.  One more part to go after this one. 


I'm planning to make a start on my Project Life today - the title page at least. I'm hoping, that given I successfully finished documenting December, I can manage 2016 - we shall see!  I've decided to just document each month, rather than week by week (my life is just not that exciting!!).

Exciting times on Tuesday.  It's the day of the sneak peeks for the scrapbook kit subscription group that I belong to - Likeforever (check out the button on the right-hand-side of the screen).  I can't recommend them highly enough.  The kits are bang up-to-date, good value, and just plain gorgeous!! Nicola, the owner, couldn't be more helpful.  Do check it out if scrapbooking is your thing.

Thanks for dropping by. 

Take care


Michelle x

Sunday 10 January 2016

Documenting December Part 1


Happy New Year!  It's been a while I know, but hey, new year, new me??!!
 
I wanted to share with you the first part of my December album.  I've never started one of these before, and quite frankly, I never thought I would get beyond the first few days!  The reason for making in the first place, was to try and help me focus in December.  I find the whole Christmas thing quite difficult, trying to think of everything, all that shopping, not to mention the money aspect.  There's an awful lot of pressure to have the perfect Christmas, and it never seems to happen.  I tried to adopt the whole "just go with it" approach, and honestly, it really helped.  This Christmas was possibly the most relaxed one we've had in a long while.
 
So to the album.  I used a 6" x 8" Stampin' Up kraft album, along with their Hello December 2015 Project Life cards and embellishment kit.  I supplemented the papers with some of the extra papers I bought with my Like For Ever kit (Wish List - Cocoa Vanilla).  I also pulled out some Christmas themed washi tape, wood veneer snowflakes, gold glitter tape etc etc.  My colour scheme was mainly a soft mint green, blue and red with gold accents.
 
I also joined Shimelle Laine's Journal Your Christmas class to help with the prompts.  I didn't follow that religiously, but it gave me a good starting point.
 
So here's the beginning, up to and including Day 10.  Enjoy :)


I'm very pleased with how these pages turned out.  I hope you have enjoyed having a little peak.  I'll be posting Part 2 in the next couple of days.  Thanks for dropping by.  I really appreciate any comments.
 
Take care
 
Michelle

Saturday 3 October 2015

Card Swap Challenge - September

 
Today I am sharing the card I made for this month's Card Swap Challenge group.  The brief was to get to know your partner, and to reflect this in the card.  Oh, and the card had to have some movement to it!  I was ok with the challenge until the last part, as I don't generally make this type of card - but there again, it is a challenge group.  After much trawling through Pinterest, I came across this card type.  I don't know what it's called - it's a bit like a Z Fold, but it may also be called a Lever Card (any suggestions gratefully received!).  I made a prototype in cheap card, and fiddled with it until I was happy.  Then on to the real thing.
 
Sue, my recipient, loves the colours lavender, turquoise and silver, and nature (birds, butterflies and squirrels).  She also likes clean and simple cards.  Perfect - ticks all the boxes for me.
 
I made the card base in SU's Tempting Turquoise.  The two white panels were stamped in Wisteria Wonder ink, using the Flowering Flourishes stamp set.  I stamped a variety of small butterflies from Papillon Potpourri (one of my favourites), and punched them out with the corresponding punch.  I used Tempting Turquoise, Wisteria Wonder and a silver inkpad that I've had for years.  The butterflies were curled a little bit for dimension, and I added a couple of tiny gems to each one to finish them off.  The banner sentiment was stamped from a set called Floral Wings.


I've just got back from a residential school trip to Wales.  We went to a PGL site and had five glorious days with a great group of children.  There were a few tears at bedtime, not enough sleep, and the obligatory travel sick child, but apart from that, it was a lot of fun.  I was planning on a restful weekend, and maybe catching up on a little bit of scrapbooking but that is not looking likely at the moment.

Talking of scrapbooking, check out the new blog button on the right hand side of my blog.  I joined a scrapbook kit subscription group in May, called likeforever, and it has really helped inspire my layouts.  The person who owns and runs likeforever, Nicola, is absolutely brilliant.  She puts together amazing kits, using the latest collections.  There is a very friendly and supportive Facebook group for subscribers, and so much inspiration.  I recommend that you take a look.  I'm loving being a part of it.  I hope to give my blog a little bit of a facelift over the coming weeks, and post some of my layouts too.

Well, that's me done for today.  Thanks for dropping by, and I am very appreciative of your comments.  Have a great weekend.

Take care

Michelle x

Sunday 27 September 2015

60th Birthday Card

Hi, just popping in to share a recent card that I made for my mum to give to her friend who is turning 60 in October.  The brief was that it needs to be a box card, and pink!
 
These cards are so easy to make, and I find them quite therapeutic.  I used a card blank from Craftwork Cards, as well as the papers and die cut flowers.  I added some punched gold flowers, and I die cut the "60s" from the SU Little Numbers dies, then coated them in gold glitter.  I dug deep in my stash for some Craftwork Card sentiments, and some gold Card Candi.  I haven't used many Craftwork Cards products for ages, as I have been solely using SU, but I do have rather a lot!


I'm going away tomorrow for a week, on a school residential trip.  We are going to PGL in the Brecon Beacons.  I'm pretty much all packed and ready to go.  Hope I don't forget anything this time - last year I forgot to pack my toothbrush!  It doesn't help that I am full of cold and have been feeling pretty poorly this weekend - my first quiet weekend in ages!  I had grand plans for lots of scrapbooking but sadly that was not to be.

Hope you all have a good week.  Thanks for dropping by.

Take care

Michelle x

Monday 21 September 2015

Cascade Card - Card Swap Challenge Group

I though it was about time I popped back to my poor neglected blog and updated it.  Life has been crazier than ever, with very little time to craft, never mind blog. 
 
After the end of my last card swap group, I was invited to join a challenge group by the lovely Sue at Birdcage Craft Studio (check out her blog here ).  My first challenge was to make a cascade card but there were certain conditions attached - no flowers, no butterflies (HELP!!), no white, pink, blue, orange or yellow.
 
First things first - how to make a cascade card.  Thank heavens for Pinterest and You Tube!  I decided to go for a set of papers from Stampin' Up - Timeless Elegance - with the colours Basic Black, Very Vanilla and Sahara Sand.  The problem I encountered was how to embellish it.  I'm not a very fussy or ornate person, and I was a bit worried that my card would look boring compared to everyone else's. I decided to go with my instincts and be true to myself.  So I made a little plaque and added a die cut "hello" to it, and left it at that. 


I hope you like it - I was quite pleased (in the end!).  Wait until you hear about the next challenge!  I'm still mulling it over.

Take care and thanks for dropping by. 

Michelle x